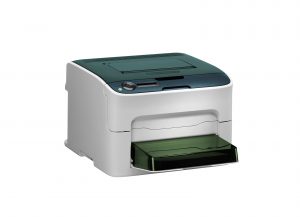
 Connecting a printer on Windows 10
If you don’t have your CD and need to install your printer, you can follow these directions. These directions should help most of the printer setups. If this does not work, please make certain that your printer is compatible with Windows 10.
- Click Start Button
- Click Settings
- Click Devices
- Click Printers & Scanners
- Click “Ad a printer or scanner”
- Does your printer show up?
Yes
- Click it and it should install
No
- Click “The printer that I want isn’t listed”
- Make sure “My printer is a little older. Help me find it” is selected
- Click Next
- Does your printer show up in this list?
- If it does, click it, and click next
- You will need to choose the correct drivers, from the list on the left choose the manufacturer of the printer.
- Is your model printer in the list on the right? If yes, select it.
- If not there, click “Windows Update” (this might take some time to finish and might not look like it is doing anything…but give it time – maybe as long as an hour or so).
- Once it is done, is your printer now in the list? If yes, cselect it.
- Click “Next”
- If you want to give your printer a name, type it in the box or leave it as is.
- Click “Next”
- It is now installing the printer
- Do you want to share your printer?
- If this is a wireless or network printer, we suggest choosing “Do not share this printer”
- If it is connected via USB cable, and you want to print from other computers, then go ahead and choose “Share this printer so that others on your network can find and use it”.
- They will also have to install the drivers for the printer
- Click “Print a test page” to do a test print
- Click “Finish”